Deploying Web Application on AWS Elastic Beanstalk (PaaS)
When assigned the task of deploying a web application or an API, we are more inclined to use more traditional means such as Infrastructure as a Service (IaaS) such as launch a virtual machine. With this route, it means that you will be controlling the configuration and management of the server and installation of required applications and libraries. In a scenario of a nodejs application, you will need nodejs installed and a server to run a nodejs application in prod such as pm2.
With Platform as a Service (PaaS) the client does not manage the underlying infrastructure, computational resource nor the runtime for the applications. This substantially reduces complexity and provides a developer/ cloud engineer with a “ready to go” environment to run an application.
The advantage of this is reduction of deployment time, easy of configuration as well as minimization of errors. In this article, I will be highlighting a step by step process of deploying an API on Elastic Beanstalk which is a popular PaaS by AWS.
Prerequisites
- You have developed a functional application and hosted it on a public/private GitHub repository. If you do not have code you can use my nodejs microservice for this tutorial (Product microservice would be good)
- You have basic familiarity with AWS console
Launch AWS Elastic Beanstalk
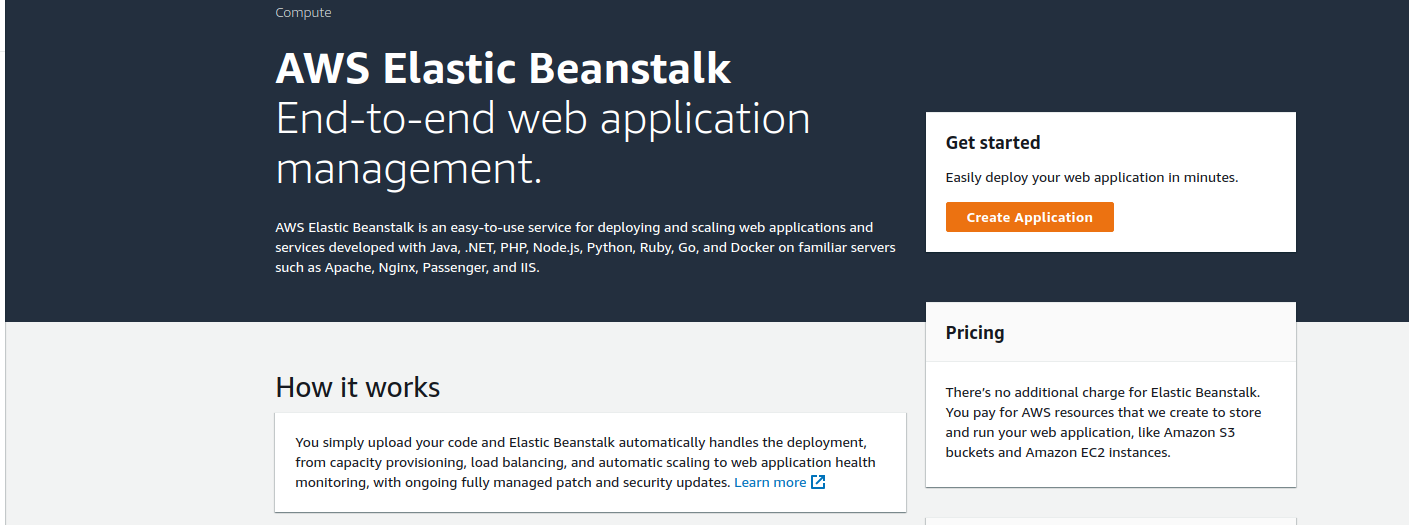
Navigate to Elastic beanstalk under services on AWS console and select create application as shown below.
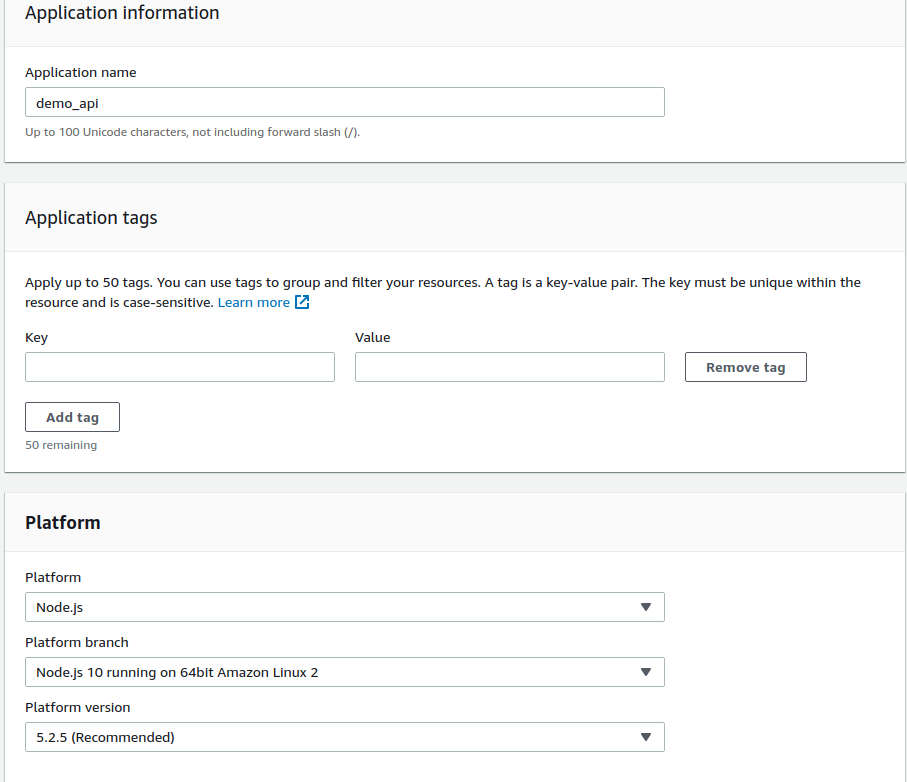
Provide application name as well as the runtime. In this demo I’m going to use nodejs 10 and the product microservices provided above.
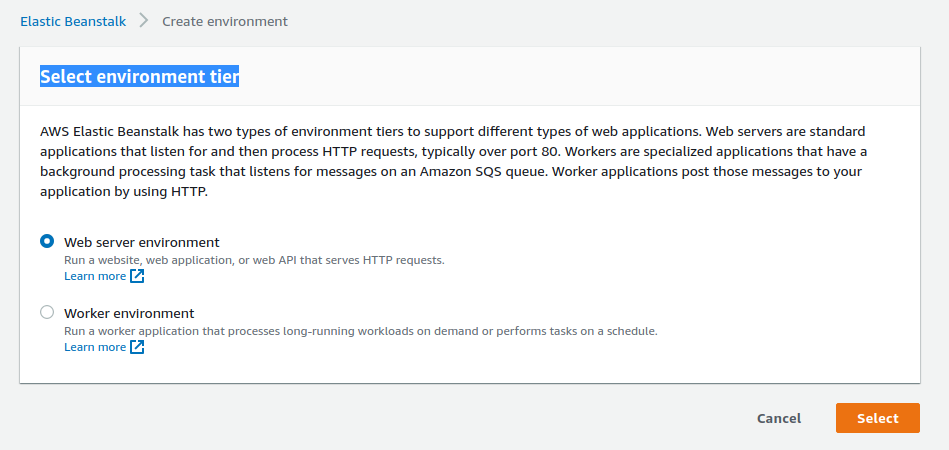
Create a web server environment as shown below;
On the next step, choose to start with sample application so that we can configure pipeline for code deployment.
You can do more configurations on this page but we are going to leave everything as default.

Click on create application and wait for the PaaS to launch successfully. This will take a while so you can get yourself a cup of coffee.
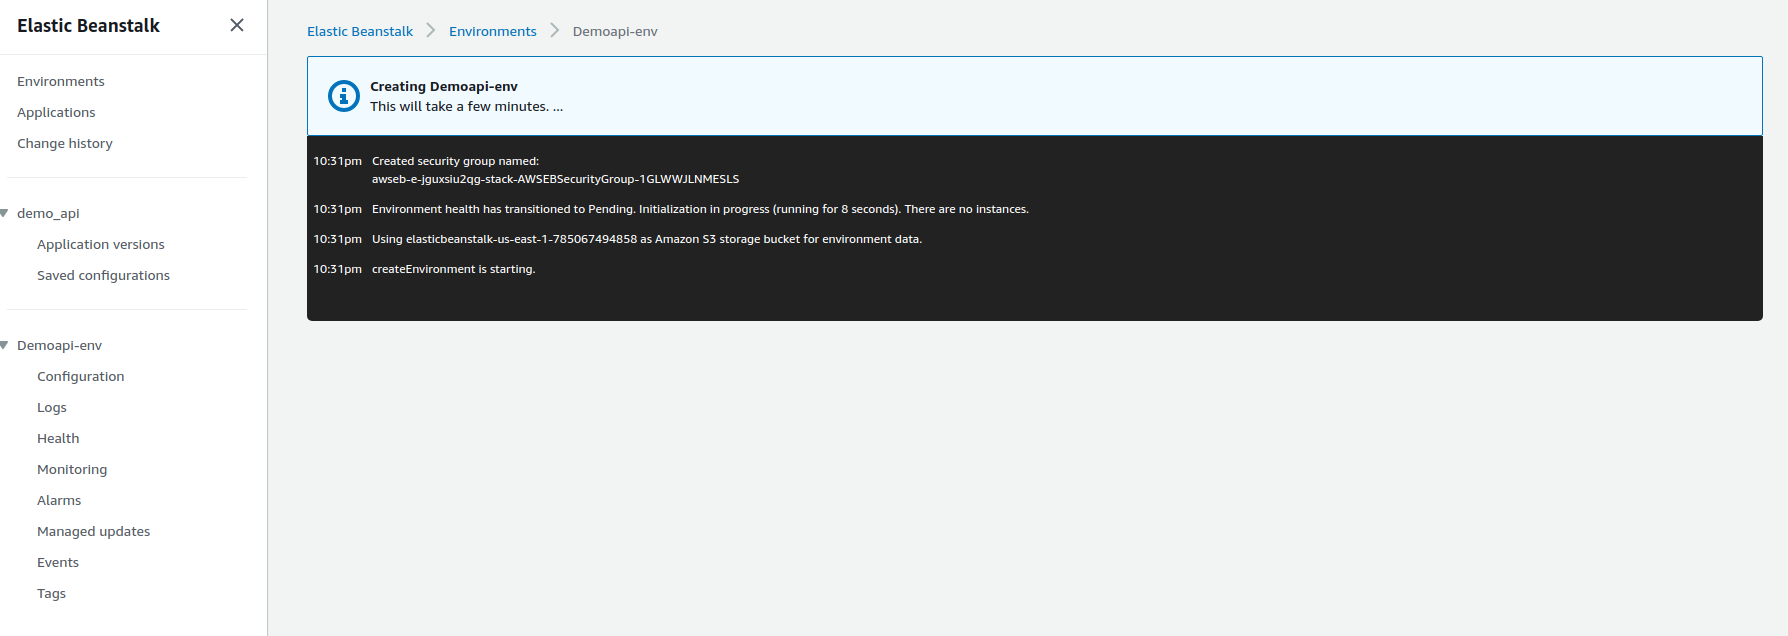
Once the launch is ready, you will have a dashboard like this showcasing the environment as well as an external endpoint to access the application.

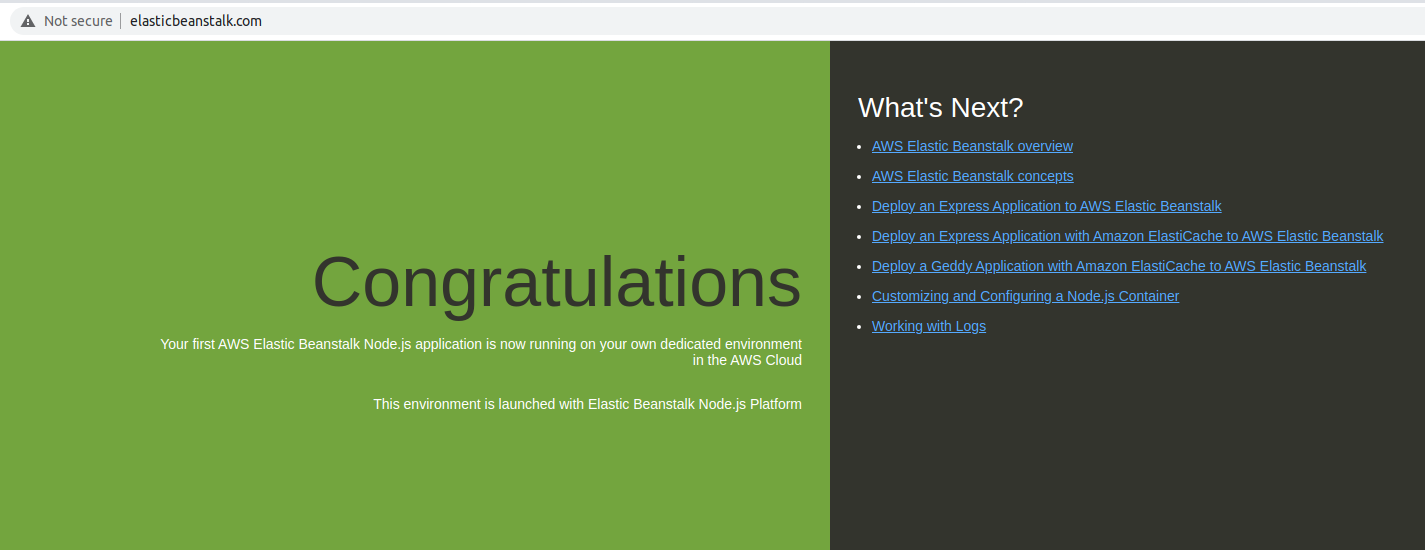
When you open the endpoint url on the browser, you should be welcomed by a landing page that looks like this.
Deploy Microservice API
To deploy our nodejs application, we will configure codepipeline following below steps.
Go to codePipeline and click create new pipeline

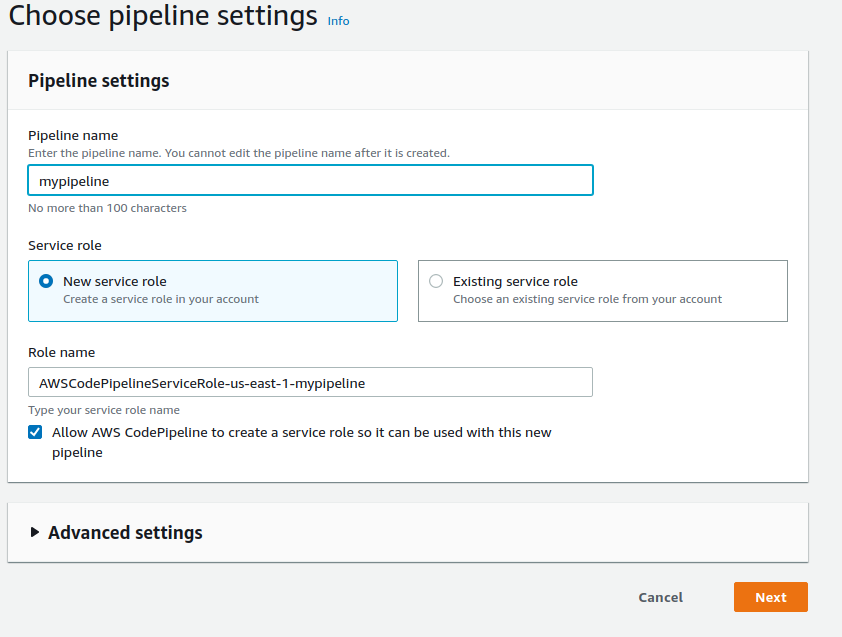
Provide a name for the pipeline and click next
Select Github as your source
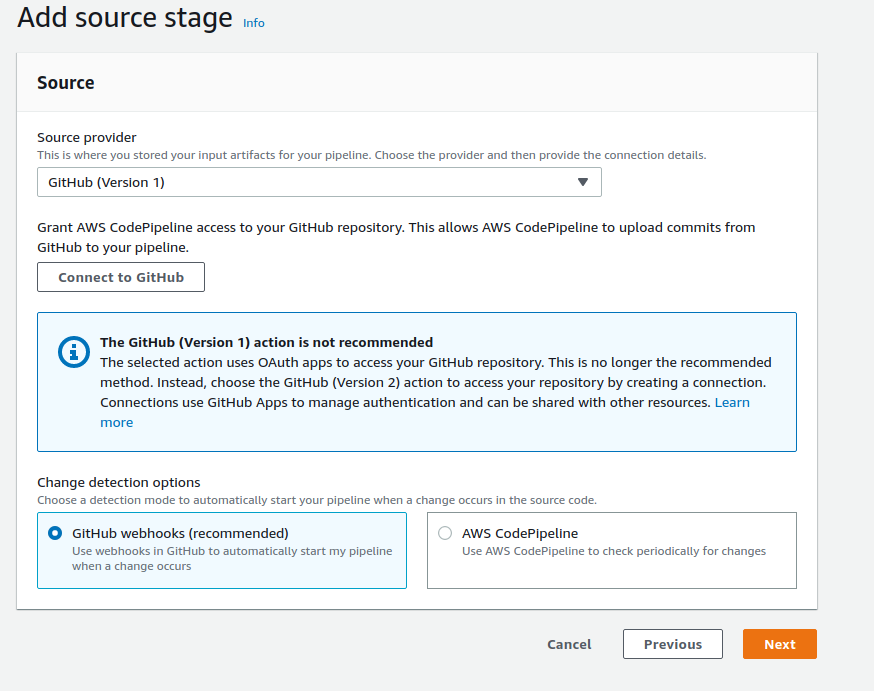
Click on connect to GitHub and provide credentials when prompted After successful authentication, select your repository and source branch and click next.
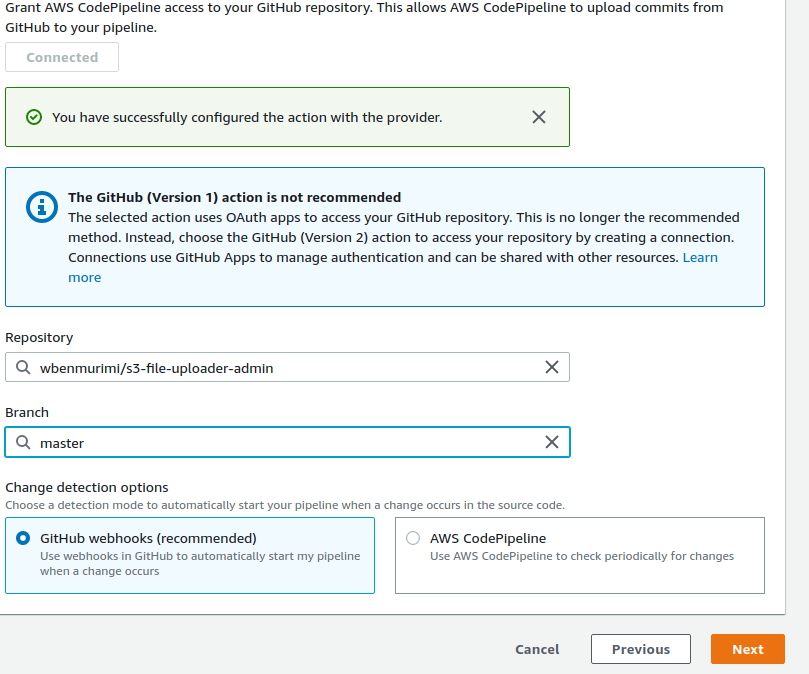
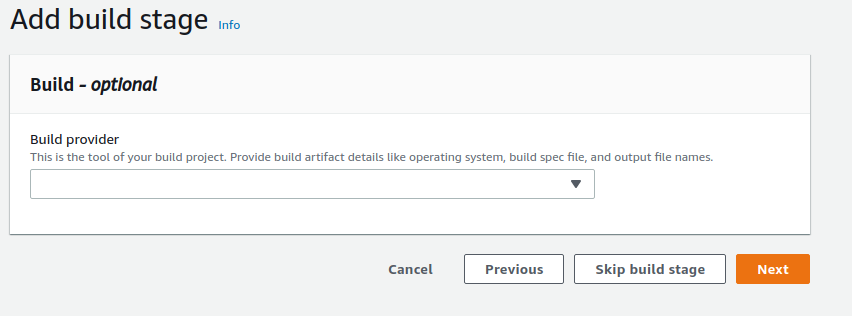
With this setup, we will skip the build stage.
On the next step, make sure you have already configured beanstalk, provide the name you used as well as the environment name, refer back to your beanstalk configuration.
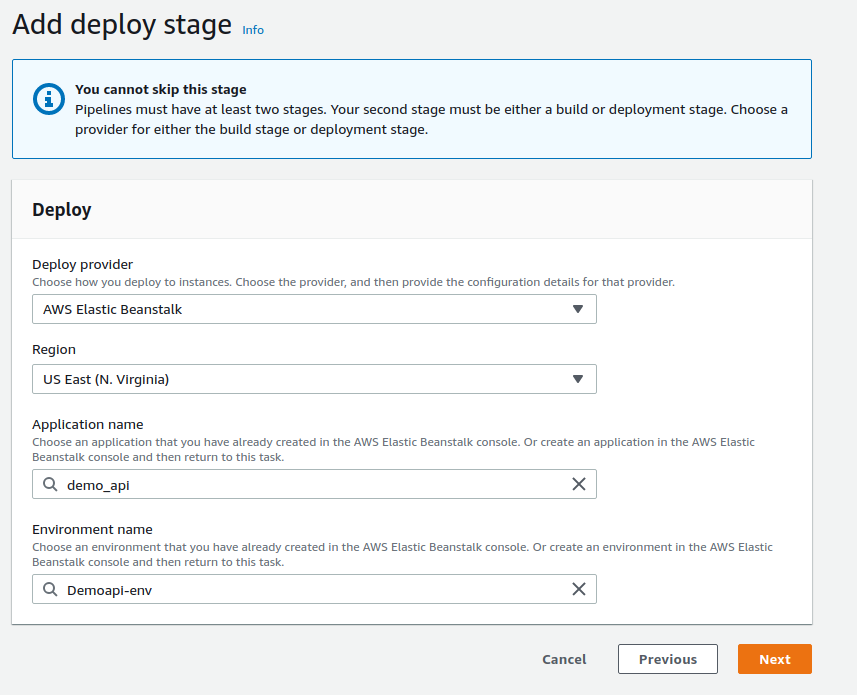
Click next and confirm everything is okay then create the pipeline. It will take a few seconds- minutes for your code to deploy.
On your pipeline page, you should see something like this, showing the code has been deployed. You should be able to see the commit comments you made to your repository
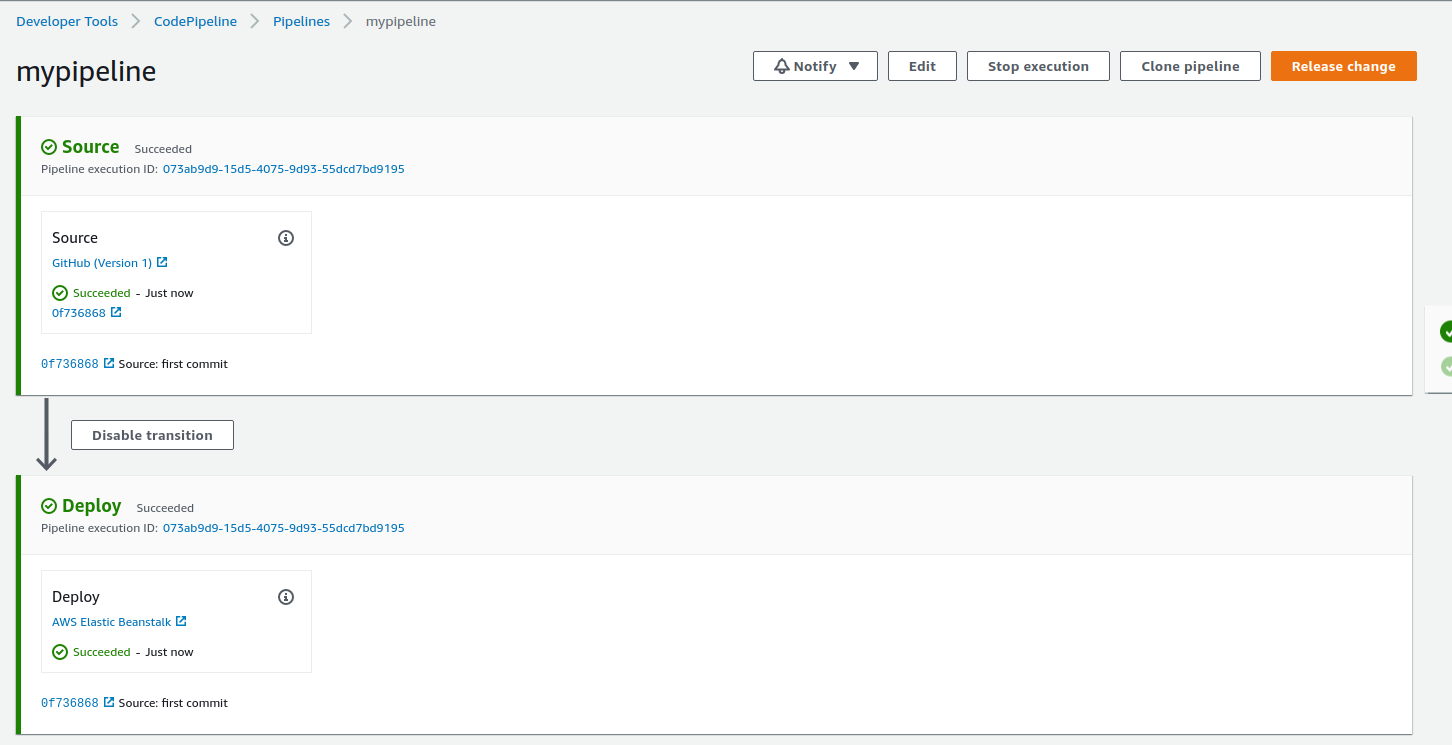
Important things to note;
For deployment, update the port number to 80 at the time of deployment Nodejs configuration: With the new code template, you will not have to change anything other than the port number. If you are using ES6, you can refer to the documentation here and here
At this point, you can now test your API by sending requests via postman.
In this article, I have outlined the process of hosting an API on AWS Elastic Beanstalk and configuring a CI/CD pipeline for the deployment of changes.
Happy Hosting!
To make a comment you have to login

0 Comments